Introduction
Regular oil changes are vital for keeping your car’s engine healthy and running efficiently. While professional services are convenient, changing your car’s oil at home is a cost-effective and rewarding task if done correctly. This guide outlines step-by-step instructions, recommended tools, and essential safety tips to help you confidently change your car’s engine oil at home.
1. Gather Your Tools and Supplies
Before starting, ensure you have the following items:
- Fresh engine oil (check your owner’s manual for the correct type and quantity)
- A new oil filter
- Oil filter wrench
- Socket wrench and appropriate socket size
- Oil drain pan
- Funnel
- Clean rags or paper towels
- Disposable gloves
- Jack and jack stands (or ramps)
2. Prepare Your Vehicle
Safety first! Follow these preparation steps:
- Park your car on a level surface and engage the parking brake.
- Allow the engine to cool down for at least 30 minutes.
- Use the jack to lift the front of the car or drive it onto ramps for better access.
- Secure the vehicle with jack stands for added safety.
3. Drain the Old Oil
- Locate the oil drain plug beneath the engine (refer to your car’s manual for precise location).
- Position the oil drain pan under the plug to catch the old oil.
- Using a socket wrench, carefully loosen and remove the drain plug. Allow the oil to drain completely (this may take a few minutes).
- Once the oil has finished draining, clean the drain plug and reinstall it securely.
4. Replace the Oil Filter
- Locate the oil filter (usually near the engine block).
- Use an oil filter wrench to carefully unscrew the old filter.
- Before installing the new filter, apply a small amount of fresh oil to the rubber gasket to ensure a secure seal.
- Install the new oil filter by hand, tightening it firmly but not excessively.
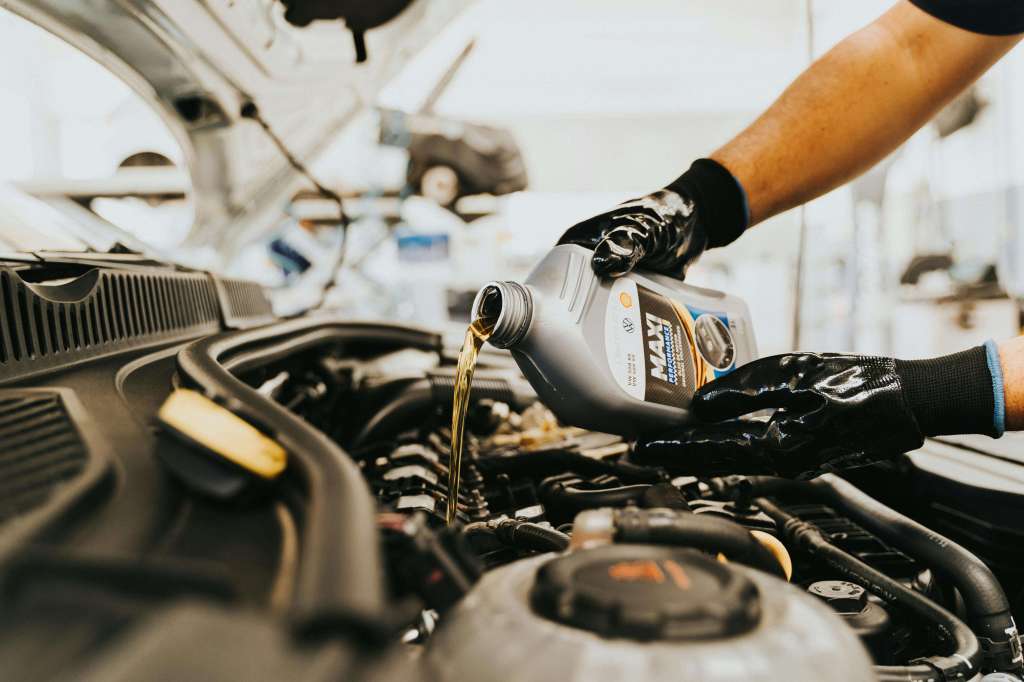
5. Add Fresh Oil
- Remove the oil cap on top of the engine.
- Using a funnel, pour in the recommended amount of fresh oil.
- Replace the oil cap securely.
6. Check the Oil Level
- Start the engine and let it run for a few minutes to circulate the new oil.
- Turn off the engine and allow it to sit for 5-10 minutes.
- Use the dipstick to check the oil level, ensuring it’s within the recommended range.
- Add more oil if necessary.
7. Clean Up and Dispose of Old Oil
- Wipe away any spilled oil from the engine and surrounding area.
- Transfer the old oil to a sealed container and take it to a local recycling center or auto shop that accepts used oil.
- Dispose of the old filter properly as well.
8. Final Inspection
- Double-check that the oil cap, drain plug, and filter are securely tightened.
- Start the engine again and check for leaks.
- Monitor the oil level over the next few days to ensure everything is functioning properly.
Conclusion
Changing your car’s oil at home is a practical skill that saves money and helps you better understand your vehicle’s maintenance. By following these steps and taking the necessary precautions, you can confidently perform oil changes while extending your engine’s lifespan. Regular maintenance is key to ensuring your car continues to run smoothly for years to come.

Leave a comment